mail_outline sales@mediastorehouse.com
Choose a picture from our Anglo-Saxon Illustrations Collection for your Wall Art and Photo Gifts
42 items
Sutton Hoo ship burial J910330SUTTON HOO, Woodbridge, Suffolk. Reconstruction drawing of the Sutton Hoo ship burial in 620 or 630 - by Peter Dunn (English Heritage Graphics Team)
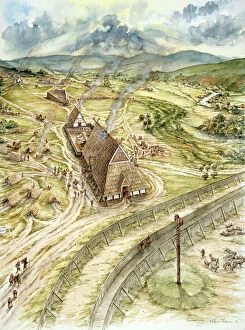
Yeavering J910320YEAVERING, Northumberland (also know as Ad Gefrin). Reconstruction drawing of Saxon Yeavering AD 627, by Peter Dunn (English Heritage Graphics Team)
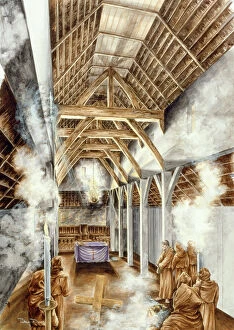
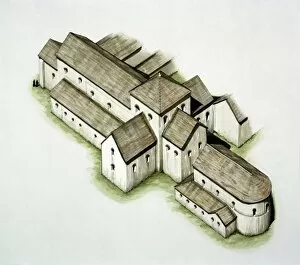
Lindisfarne Priory J880141LINDISFARNE PRIORY, Northumberland. Reconstruction drawing by Peter Dunn (English Heritage Graphics Team) of the Saxon church 652 AD
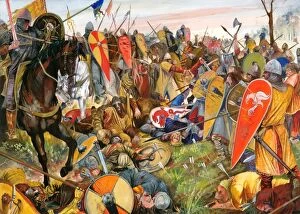
Battle of Hastings IC008_018BATTLE ABBEY, East Sussex. Battle of Hastings 1066. Reconstruction drawing by Jason Askew
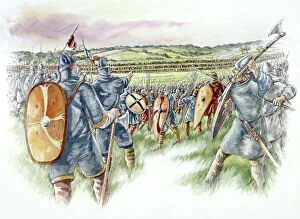
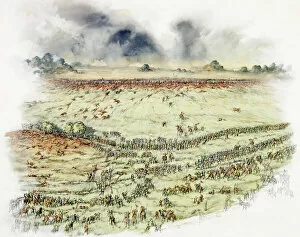
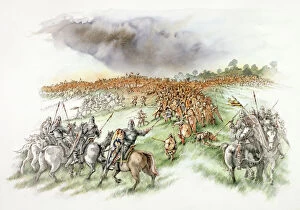
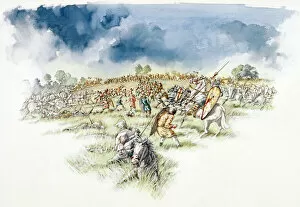
Battle of Hastings J000010BATTLE ABBEY, East Sussex. Battle of Hastings reconstruction drawing looking over the heads of the English towards the Norman ranks, by Peter Dunn (English Heritage Graphics Team)
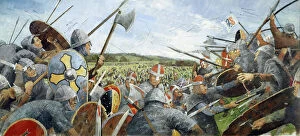
Battle of Hastings J960036BATTLE ABBEY, East Sussex. Battle of Hastings 1066. Reconstruction drawing of the battle scene with soldiers by Ivan Lapper
Battle of Hastings J000016BATTLE ABBEY, East Sussex. Battle of Hastings reconstruction drawing by Peter Dunn. Armies re-group on hillock. Normans take food and water horses
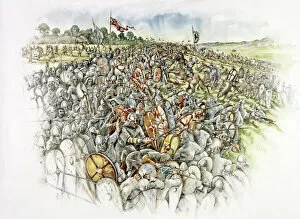
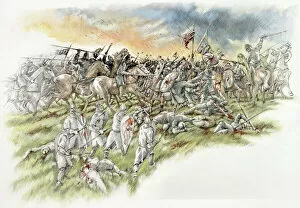
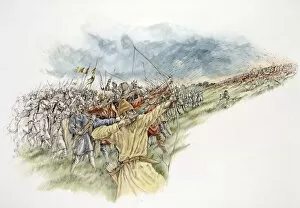
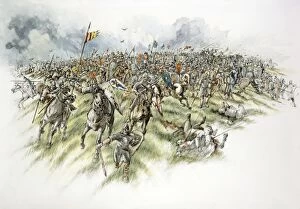
Battle of Hastings J000015BATTLE ABBEY, East Sussex. Battle of Hastings reconstruction drawing by Peter Dunn. Waves of Norman cavalry and infantry smash into the shield wall
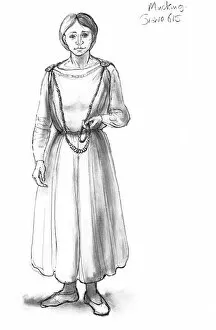
Anglo-Saxon woman N090543Mucking, Essex. Reconstruction drawing by Judith Dobie (English Heritage Graphics Team) showing a female wearing a tubular gown or peplos fastened by two brooches. Grave 615. Anglo Saxon
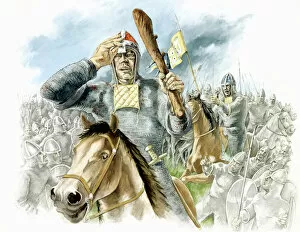
Battle of Hastings J000018BATTLE ABBEY, East Sussex. Battle of Hastings reconstruction drawing by Peter Dunn, English Heritage Graphics Team. William pushes his helmet back to show troops he is alive
Viking era boat building IC128_006Reconstruction drawing, by Chris Evans, depicting the construction of a Viking era ship on the banks of a river. Although no archaeological evidence has been found
Battle of Hastings J000013BATTLE ABBEY, East Sussex. Battle of Hastings reconstruction drawing by Peter Dunn. The Normans feigned flight pursued by the English
Battle of Hastings J000011BATTLE ABBEY, East Sussex. Battle of Hastings reconstruction drawing by Peter Dunn showing the Normans charge through to Harold and his personal troops
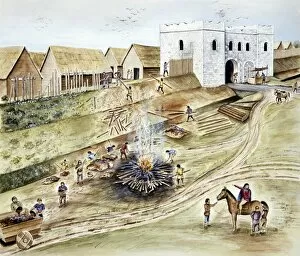
Viking defences of York J940081Reconstruction drawing by Chris Evans, English Heritage Graphics Team. Refurbishing the City Defences at York during the Viking Age
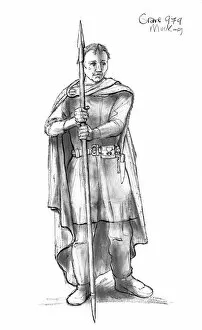
Anglo-Saxon man N090546Mucking, Essex. Reconstruction drawing by Judith Dobie (English Heritage Graphics Team) showing a male wearing a cloak pinned by a brooch at shoulder height. Grave 979. Anglo Saxon
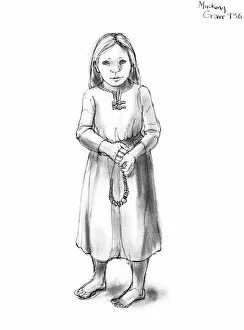
Anglo-Saxon girl N090542Mucking, Essex. Reconstruction drawing by Judith Dobie (English Heritage Graphics Team) showing a childs tunic costume fastened by two brooches at the neck. Grave 936. Anglo Saxon
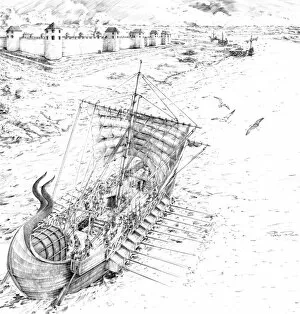
Roman galley N100094PORTCHESTER CASTLE, Hampshire. Reconstruction drawing by Peter Dunn (English Heritage Graphics Team) showing a galley from the Roman fleet Classis Britannica
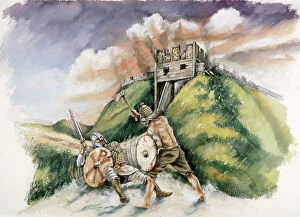
Cynric fighting the Britons at Old Sarum in 552 AD J030101OLD SARUM, Wiltshire. Cynric of Wessex fighting the Britons at Searobyrg (Old Sarum) in 552 AD. Reconstruction drawing by Peter Dunn, English Heritage Graphics Team
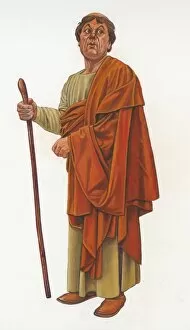
Anglo Saxon Monk N080565TYNEMOUTH PRIORY, Tyne and Wear. Reconstruction drawing by Graham Sumner of an Anglo-Saxon monk
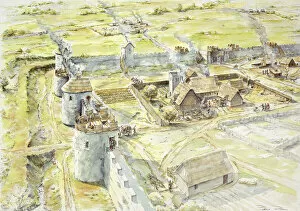
Portchester Castle J900008PORTCHESTER CASTLE, Hampshire. Reconstruction drawing of Saxon settlement of late 10th century by Peter Dunn, English Heritage Graphics Team
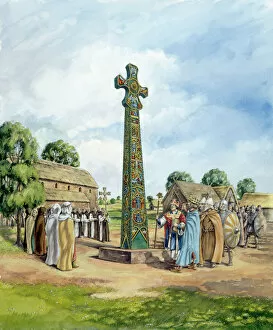
Sandbach Crosses J010096SANDBACH CROSSES, Cheshire. Reconstruction drawing of one of the crosses in the 9th century before it was moved to Sandbach, by Peter Dunn (English Heritage Graphics Team)
Mawgan Porth IC136_001Mawgan Porth, Corwall. A reconstructiondrawing by Alan Sorrell showing an oblique view of Courtyard House 1 as it may have appeared in the 10th century
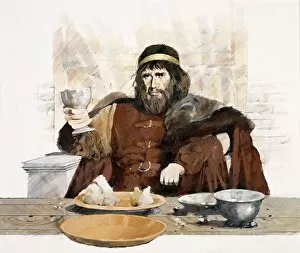
Dark Age Cornish King J940332TINTAGEL CASTLE, Cornwall. Dark Age Cornish King. Reconstruction drawing by Ivan Lapper
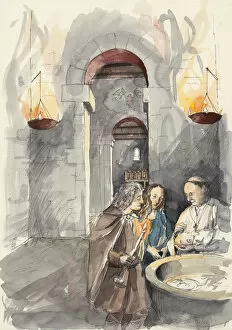
St Peters Church, Barton-upon-Humber N070175ST PETERs CHURCH, Barton-upon-Humber, Lincolnshire. Reconstruction drawing by Liam Wales of baptism in the Anglo-Saxon church
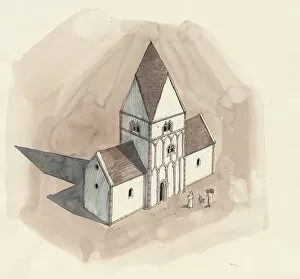
St Peters Church, Barton-upon-Humber N070171ST PETERs CHURCH, Barton-upon-Humber, Lincolnshire. Aerial view reconstruction drawing by Liam Wales of the church in Anglo-Saxon period
Battle of Hastings J000017BATTLE ABBEY, East Sussex. Battle of Hastings reconstruction drawing by Peter Dunn. William uses his archers again in last attack on the English
Battle of Hastings J000014BATTLE ABBEY, East Sussex. Battle of Hastings reconstruction drawing by Peter Dunn. The Normans counter attack English Fyrdmen cut off on hillock
Battle of Hastings J000012BATTLE ABBEY, East Sussex. Battle of Hastings reconstruction drawing by Peter Dunn showing the Bretons fleeing downhill pursued by the English Fyrdmen
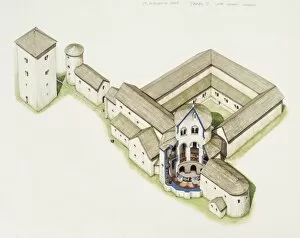
St Augustines Abbey J970020ST AUGUSTINEs ABBEY, Canterbury, Kent. Reconstruction drawing of the late saxon church. Watercolour by Peter URMSTON. The churches now joined by a rotunda
St Augustines Abbey J970019ST AUGUSTINEs ABBEY, Canterbury, Kent. Reconstruction drawing of the first saxon church. Watercolour by Peter URMSTON
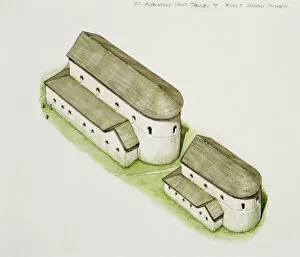
St Augustines Abbey J000090ST AUGUSTINEs ABBEY, Canterbury, Kent. Aerial view reconstruction drawing of the Anglo-Saxon church by Peter URMSTON
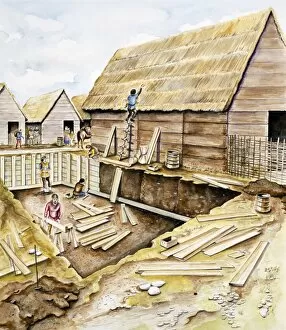
Viking buildings J940007Reconstruction drawing by Chris Evans, English Heritage Graphics Team, of the construction of a sunken-featured building, later 10th Century AD
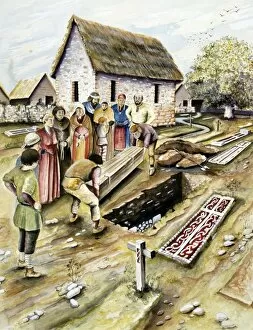
Viking burial J940006Reconstruction drawing by Chris Evans, English Heritage Graphics Team, of a 10th Century burial in a York churchyard
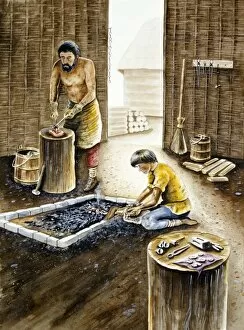
Viking workshop J940005Reconstruction drawing by Chris Evans, English Heritage Graphics Team, of a Viking metal-smiths workshop, mid 10th century AD
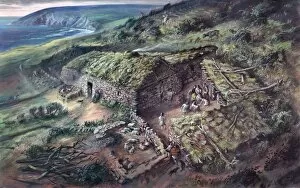
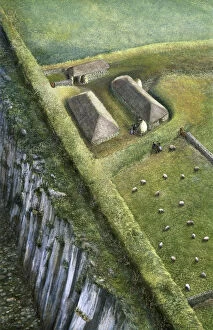
Greenshiel, Lindisfarne. 9th century J940323LINDISFARNE PRIORY, Holy Island, Northumberland. Birds eye reconstruction drawing of 9th Century Anglo Saxon settlement at Greenshiel, Lindisfarne by Peter Dunn (English Heritage Graphics Team)
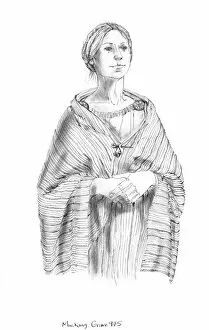
Anglo-Saxon woman N090545Mucking, Essex. Reconstruction drawing by Judith Dobie (English Heritage Graphics Team) showing a female wearing a peplos with a striped cloak or wrap fastened by a pin. Grave 975. Anglo Saxon
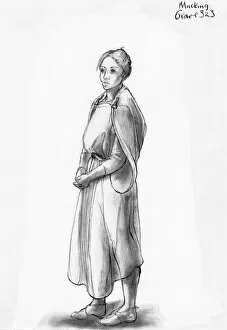
Anglo-Saxon woman N090544Mucking, Essex. Reconstruction drawing by Judith Dobie (English Heritage Graphics Team) showing a female wearing a tubular gown or peplos fastened by two brooches. Grave 323. Anglo Saxon
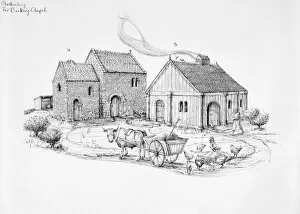
Beckery Chapel, Glastonbury J920409GLASTONBURY, Somerset. The Beckery Chapel. Later Anglo-Saxon. Reconstruction drawing by Judith Dobie (English Heritage Graphics Team). Anglo Saxon
Hadrians Wall: Sewingshields Wall J930079HADRIANs WALL: SEWINGSHIELDS WALL, Northumberland. Reconstruction drawing of medieval milecastle by Frank Gardiner (English Heritage Graphics Team). hadrian
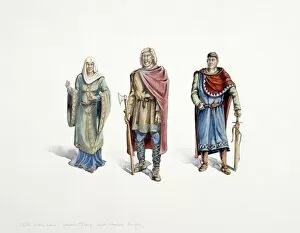
Saxons and Normans J000019BATTLE ABBEY, East Sussex. Reconstruction drawing of Edith Swan Neck, a Saxon thegn and a Norman knight by Peter Dunn (English Heritage Graphics Team)
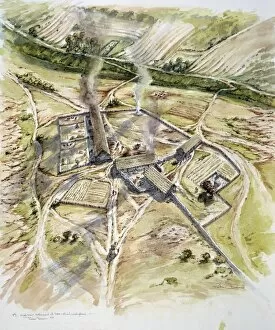
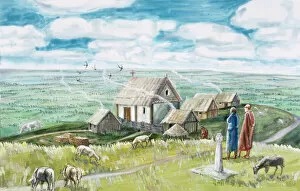
Monastic settlement, Glastonbury Tor J920411GLASTONBURY TOR, Somerset. Anglo-Saxon monastic settlement. Reconstruction drawing by Judith Dobie (English Heritage Graphics Team). Anglo Saxon
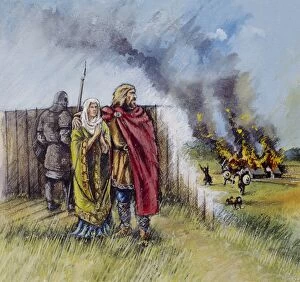
Saxon man and woman J030116OLD SARUM, Wiltshire. Reconstruction drawing by Peter Dunn, English Heritage Graphics Team, showing Saxon man and woman during Viking raid